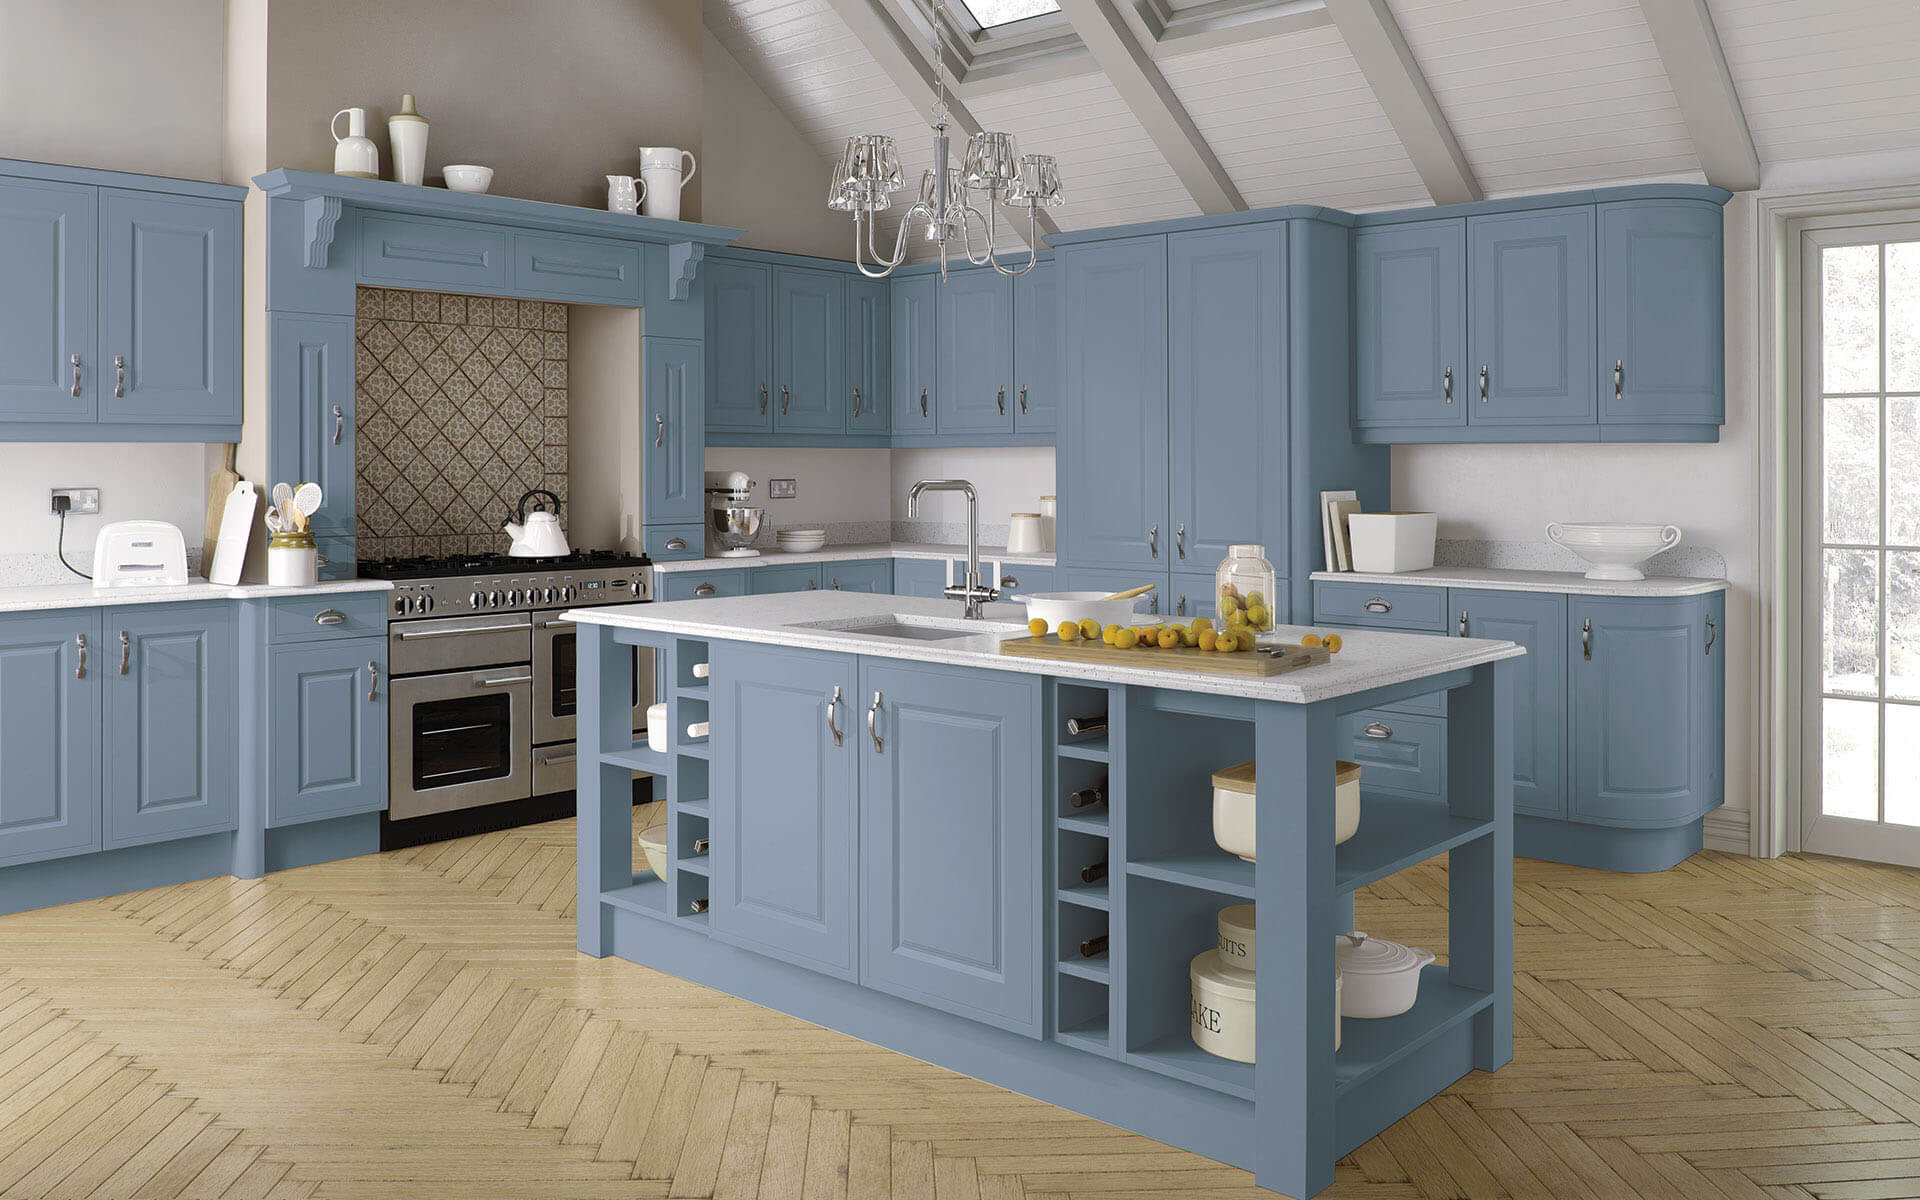
Choosing the Right Cleaning Products for Your Kitchen Cabinets
Kitchen cabinets serve as a fundamental part of any kitchen, offering storage solutions and defining the overall aesthetic.
Thus, the maintenance and cleaning of these essential components is vital.
Choosing the right cleaning products for your kitchen cabinets depends not only on the type of material they are made of, but also on the kind of dirt or residue that needs to be tackled.
For instance, if you have wooden cabinets, opt for a gentle cleaning solution to avoid damaging the wood. An oil-soap wood cabinet cleaner is quite often the go-to choice for this material.
However, if your cabinets are laminated or made of plastic, a mixture of vinegar and clean water can do a fabulous job without causing harm.
When it comes to tackling grease or solidified residues, it becomes necessary to use a stronger cleaning agent but you can avoid using harsh chemicals. In such cases, a gentle cleaner made from a solution of warm water and a mild dish-washing soap can often be effective.
Alternatively, there are specific degreasing agents available in the market that do an incredible job of eliminating stubborn grime.
Remember! Test any new cleaning product on a small, hidden part of your cabinet before applying it thoroughly.
This will allow you to gauge the product's safety and effectiveness without risking damage to a visible portion of your cabinet.
Moreover, always follow the usage instructions and safety guidelines provided by the manufacturer. After all, it's not just about cleanliness – it's also about preserving the life and beauty of your kitchen cabinets.
In conclusion, the choice of cleaning product for your kitchen cabinets is primarily influenced by the cabinet material and the type of dirt to be removed.
However, always prioritising products that are non-toxic, biodegradable and safe for you is a step in the right direction!
Tips for Properly Wiping Down Kitchen Cabinets

Easy to clean true handleless kitchen in reed green
Your kitchen cabinets are the silent workforce of your home, always on standby to hold your cookware, crockery, and food items.
But when it comes to maintaining them, there's more to it than a simple wipe-over. Here are some handy tips to help you clean kitchen cabinets like a pro.
Empty the Cabinets: Clear out all items from your cabinets before starting a good cleaning process. This not only prevents damage to your items but also gives you a clear view of the interior.
Remove Any Dust: Use a soft microfibre cloth to wipe away any dust or debris. Dry dusting is preferred as it won’t smudge or spread loose particles.
Remember: Always dust before applying any wet cleaning products. Applying a cleaning agent on top of dust or grime can turn it into a sticky mess.
Use a Mild Cleaning Solution: Spray a gentle cleaning solution on a soft, slightly damp cloth and wipe the exterior and interior of the cabinet in circular motions. Avoid spraying cleaning products directly onto the cabinet surfaces as this can cause sogginess or discolouration.
- Vinegar and water: A 50:50 solution works well for most cabinets. It's a natural cleaner and a non-toxic way to remove grease and grime from greasy cabinets.
- Mild dish soap: Dish soap is designed to break down grease and can be very effective. Make sure to rinse thoroughly.
Take Care of the Handles: Pay particular attention to the handles and pulls too. They’re a hotspot for germs and grime. Use an old toothbrush dipped in the cleaning solution to get to those hard-to-reach areas.
Allow It to Dry: After cleaning wood cabinets, use a dry cloth to wipe down the surfaces and let it air dry before replacing your items. This prevents any lingering moisture which can damage the cabinet.
Remember, ongoing maintenance is key to keeping your kitchen looking fresh and inviting. By properly wiping down your wood kitchen cabinets, you can extend their lifespan and protect your investment.
How to Remove Stubborn Stains from Kitchen Cabinets

Grooved panelled kitchens will take a bit of extra care when cleaning
The kitchen, a central hub of the home, can be particularly prone to tough stains.
Whether from splashes of pasta sauce or dribbles of olive oil, your kitchen cabinets can become victims of unsightly spots.
But, worry not - there are tried and tested methods towards stain removal that can restore your kitchen cabinets to their former glory.
First off, identify what type of stain you're dealing with. It could be a food stain, water marks, or perhaps something oil-based. Each category requires a different approach.
Removing Food Stains
Food stains are quite common and can occur due to spillages, splatters, or tiny food particles. To combat these, you'll need a solution of warm water and mild dish soap.
Gently scrub the affected area using a soft cloth or sponge. Rinse with clean hot water and dry thoroughly.
Dealing with Water Marks
Water stains, usually white rings or cloudy smear, frequently occur on wooden surfaces.
To erase these marks, you can try a mixture of toothpaste and baking soda. Using a soft cloth, gently rub this paste onto the stain. After a few minutes, wipe off with a damp cloth and dry.
Tackling Oil-Based Stains
Oil-based stains can be particularly stubborn. You might need a degreasing agent to break down the oil. Always test the cleaner on a small, hidden area first to ensure it doesn’t discolour or damage the surface.
Apply the cleanser according to the manufacturer's instructions, then rinse and dry.
Remember, the sooner you attend to the offending stain, the better your chances of removing it entirely. Also, regular cleaning can reduce the chances of staining.
Remember to dust your cabinets regularly to prevent accumulation of particles that could lead to stains. Tough stains need not signal the end of your cabinets’ beauty- with proper care and swift action, they can maintain their allure for years to come!
Cleaning Glass Cupboard Doors in Your Kitchen

Kitchen featuring Glass Wall Units
The cleanliness of your kitchen's glass doors plays a massive role not just in the overall hygiene of the space, but also in its aesthetic appeal.
No one loves greasy kitchen cabinets or a greasy, fingerprint-laden glass surface, so let's explore the best way to clean and maintain these areas.
Begin with a quality commercial glass cleaner for a straightforward and efficient cleaning process. Just remember to spray the cleaning solution onto a dry microfiber cloth instead of directly on the glass.
This practice prevents the liquid from dripping onto the glass surface and leaving a residue.
If you prefer natural cleaning solutions, vinegar mixed with water is a beautiful, eco-friendly alternative. Simply combine equal parts of white vinegar and warm water, transfer into a spray bottle, and your homemade glass cleaner is ready.
Begin the cleaning process:
- Ensure you remove dust and cobwebs from the glass surface using a duster or a soft cloth.
- Apply the cleaning solution using a piece of clean cloth, starting from the top and working your way down for an even application.
- Allow the cleaning solution to settle for a while before wiping it off. Not doing so could mean wiping away the cleaning agent before it has had a chance to do its job fully.
- Use a squeegee, if available, to then remove the cleaning solution effectively. Start at the top and draw the squeegee down the greasy surface in a straight line, overlapping the previous line slightly. For the final stroke, pull the squeegee across the bottom, and you have a clean, shiny glass window or door.
For best results, clean your glass doors early in the morning or late in the evening when the sun is not directly hitting the glass.
This practice prevents the cleaning solution from drying too quickly and leaving streaks.
Remember! No matter whether you choose a commercial product or a DIY solution, the most important tip is to clean regularly. Ingrained dirt is harder to remove, so don’t let your kitchen cabinet doors become heavily soiled before you decide to clean them.
Regular maintenance not only enhances the look of your kitchen but also prolongs the life of the surfaces.
The Importance of Regular Deep Cleaning in the Kitchen

Deep cleaned large kitchen with island
Regular deep cleaning in the kitchen is more crucial than you might think.
It doesn't only contribute to a visually appealing place, but it also ensures that your kitchen remains a hygienic space for food preparation.
Obviously, your daily routine might include washing up and wiping down surfaces, but these methods can miss harder-to-reach areas.
Grease, crumbs, and bacteria can accumulate over time, creating an unhygienic condition that might be a breeding ground for harmful microorganisms. This is where regular deep cleaning comes in.
Kitchen Cleaning Planner
| Area of Kitchen | Daily Tasks | Weekly Tasks | Monthly Tasks |
|---|---|---|---|
| Kitchen Cabinets | Wipe down with damp cloth | Remove items, clean cabinets inside, and organise |
Check for any necessary minor repairs |
| Worktops | Clean spills promptly, wipe down after use | Scrub with designated cleaning product | Deep clean using products specific to worktop material |
| Glass Doors & Windows | Wipe with microfibre cloth | Clean with vinegar and water solution | Complete clean using glass cleaner, check for repairs |
| Built-In Appliances | Wipe down exterior | Clean interior with suitable cleaner | Deep clean following manufacturer guidance, check functionality |
| Fridge | Remove expired food | Wipe shelves, drawers, and doors with mild cleaners |
Defrost freezer (if applicable), deep clean and organise interior |
| Sink and Tap | Rinse out after use | Clean with appropriate cleaner | Descale tap, deep clean sink |
Deep cleaning your kitchen & regularly cleaning kitchen cabinets every month or two can help maintain the streamlined appearance and optimal function of all appliances, fixtures, and fittings.
It can extend their lifespan and save you from costly repairs or replacements in the long run. Plus, there's something incredibly satisfying about propelling your kitchen back to its gleaming best!
- Hobs and ovens: These often overlooked areas can accumulate a significant amount of burnt-on food and grease. Using a suitable non-abrasive cleaner can help break down the build-up without scratching the surfaces.
- Refrigerator: Regularly removing expired food, wiping down shelves and drawers, and vacuuming the coils at the back can improve the efficiency of your fridge and reduce energy consumption.
- Cupboards and drawers: Empty them completely, clean inside with a damp cloth and maybe some mild detergent. Be sure to dry thoroughly to avoid mould or mildew forming. Don't forget to clean the drawer pulls or handles.
- Sinks and taps: While these might seem the cleanest spots - given how often water runs through them - they can become a hotspot for lime scale and mineral deposit. An appropriate descaler can help address this issue.
To assist with your deep cleanse, you might want to invest in some dedicated cleaning tools, such as a steam cleaner, a long-handled brush or an old toothbrush for getting into those difficult crevices.
Remember, a habit of regular deep cleaning will not only ensure a sparkling kitchen but also contribute to a healthier and safer cooking environment.
So, get out your cleaning kit, put on your favourite playlist, and watch as your kitchen regains its shine and glory.
Check out the other kitchen cleaning articles in this series, Best Easy DIY Cleaning Tips for Kitchen Worktops and Best Easy DIY Cleaning Tips for Kitchen Appliances.
Thinking a of new kitchen project? Contact the Better Kitchens team!
