Embarking on the Journey to Install or Revitalise a Kitchen Splashback.
The right kitchen backsplash tiles not only shield your kitchen walls from splatters and spills but also provide a unique opportunity to inject your personal style into the heart of your home.
Whether you are drawn towards the classic appeal of ceramic tiles, the luxurious touch of quartz or granite, the modern sleekness of glass tile, or the rustic charm of natural stone tiles, there's a plethora of material options to suit your taste.
However, the venture goes beyond merely selecting a delightful tile. It encompasses understanding the material cost involved, the square footage of splashback tile needed, and the type of tile that would blend seamlessly with your kitchen's theme. Moreover, contemplating the right amount of tile needed, exploring different splashback materials, and diving into the cost considerations are pivotal steps in this journey.
This guide aims to navigate you through the essential phases of a splashback project, from exploring different material options, design considerations, accurate measuring, cost budgeting, to the actual installation and long-term maintenance. With each section, you'll be equipped with the necessary knowledge to make informed decisions, ensuring that your new splashback or new kitchen splashback not only elevates the aesthetics of your kitchen but is also a testimony to prudent planning and informed choices.
Whether you are a seasoned home renovator or embarking on your first kitchen splashback project, this comprehensive guide aims to equip you with the insights needed to ensure a smooth sailing project, culminating in a kitchen space that resonates with beauty, functionality, and personal style.
Section 1: Exploring Material Options
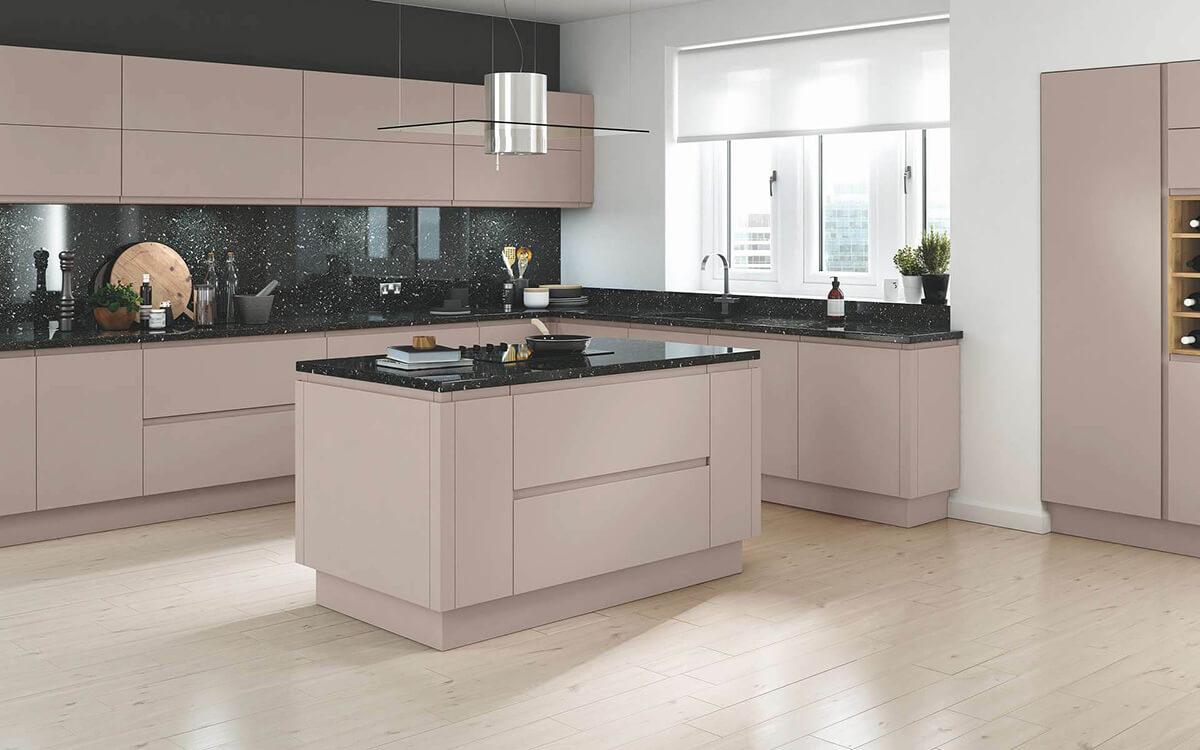
Handleless Kitchen with Black Sparkle Laminate Splashbacks
Selecting the right material for your kitchen splashback is a pivotal decision that lays the foundation for your project. The chosen material should not only resonate with your aesthetic preferences but also meet the functional demands of your kitchen. Here, we delve into various material options, evaluating their merits and demerits, to aid you in making an informed choice.
- Ceramic Tiles: Ceramics are a popular choice for your kitchen tile backsplash due to their versatility, durability, and cost-effectiveness. They come in an array of colours, designs, and sizes, allowing for creative design expressions.
- Porcelain Tiles: Being denser and less porous than ceramic, porcelain tiles offer superior water and stain resistance, making them a suitable choice for kitchen backsplashes.
- Glass Tile: Glass tiles provide a modern, sleek look, reflecting light and adding a sense of spaciousness. They are also easy to clean, although installation can be more challenging compared to ceramic or porcelain tiles.
Natural Stone Tiles: Natural stone exudes a timeless, elegant appeal. Options like granite, marble, or slate offer unique textures and patterns but may require more maintenance to keep them looking pristine. - Quartz: Quartz splashbacks are gaining popularity due to their non-porous nature and ease of maintenance. They offer a sleek, contemporary look with a variety of colour options.
- Granite: Granite offers a luxurious, high-end look with natural variations in colour and texture. It's durable and resistant to heat, although it may need periodic sealing to prevent staining.
- Solid Surface: Solid surface materials like our Solid Surface Worktops offer a uniform look and are available in a wide range of colours and patterns. They are easy to clean and maintain, providing a seamless appearance.
- Laminate: Kitchen Laminate Worktops are a budget-friendly option offering a plethora of design choices, including looks that mimic natural stone or wood. However, it may not withstand heat and moisture as well as other materials.
- Decorative Aluminium: Decorative aluminium splashbacks provide a contemporary, industrial look. They are heat resistant and easy to clean, offering a unique aesthetic.
- Best Material: Weighing the pros and cons of each material type, considering your budget, and the overall design theme of your kitchen will help you determine the best material for your backsplash project.
- Backsplash Material: Regardless of the type of material chosen, ensuring it complements your kitchen countertop, walls, and overall design aesthetic is crucial for a cohesive look.
This section aims to provide a glimpse into the vast material palette available for kitchen splashbacks. As you explore these options, consider not only the aesthetic appeal but also the practical aspects like durability, maintenance, and cost. In the next section, we will dive into design considerations that will further guide you in personalising your kitchen space.
Section 2: Design Considerations
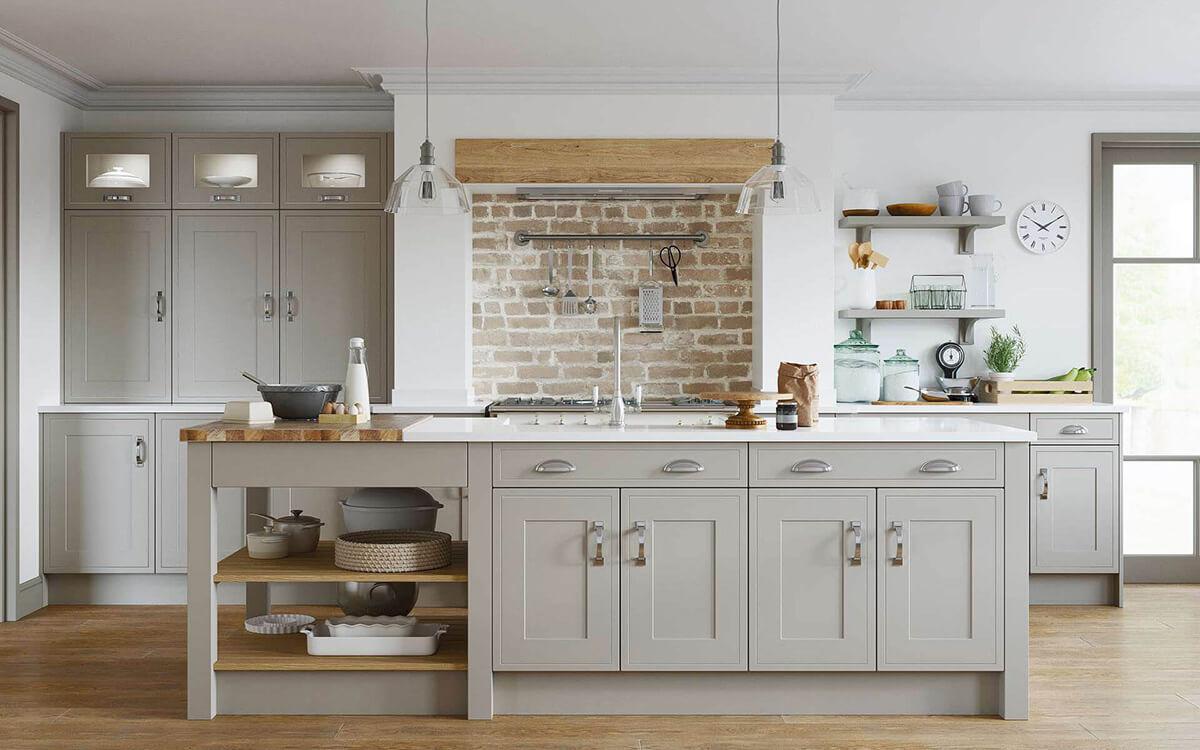
Dewsbury Pebble In Frame Effect Kitchen with Brick Splashback In Chimney Feature
Once you have a clear understanding of the material options for your splashback, the next step is to delve into the design considerations. Your kitchen is a reflection of your personal style, and the splashback is a significant element that contributes to the overall aesthetics. Here are some key design considerations to ponder:
- Colour and Pattern: The colour and pattern of your splashback should complement the overall theme of your kitchen. Consider whether you want a contrasting colour to create a focal point or a harmonising colour to create a seamless look.
- Texture and Finish: The texture and finish of your splashback material can add a layer of sophistication to your kitchen. Whether it's the glossy finish of glass tile or the rugged texture of natural stone tiles, each has its unique charm.
- Tile Size and Shape: The size and shape of the tiles can significantly impact the look of your splashback. Larger tiles can create a modern, sleek look while smaller tiles or mosaic designs can add intricate detail.
- Layout and Installation: The layout you choose for your splashback, whether it's a classic subway tile layout, a herringbone pattern, or a modern stack bond, can drastically alter the look of your kitchen. Additionally, consider the width of your backsplash and how it corresponds with the kitchen countertop and cabinets.
- Grout Colour: Choosing the right grout colour can either make the tiles pop or help them blend seamlessly into the design. It's also essential for maintaining a clean and fresh look.
- Functional Aspects: Consider the functional aspects of your design. For instance, certain materials and colours may show splatter marks less, making cleaning easier. Also, consider the location of outlets and switches and how they will integrate with your splashback design.
- Unique Features: Incorporating unique features like a pot filler, a built-in shelf, or decorative insets can add functionality and character to your splashback.
- Budget Considerations: Your design choices will also be influenced by your budget. High-end materials and intricate installation patterns might increase the material cost and the cost of installation.
- Long-Term Maintenance: Consider the long-term maintenance requirements of your design choices, especially if you're considering materials that may require regular sealing or special cleaning products.
- Professional Consultation: If you're unsure about your design choices, consider consulting with a professional. They can provide valuable insights and help you visualize the finished project.
Taking time to consider the various design aspects will help ensure that your kitchen backsplash not only looks fantastic but also serves its practical purposes efficiently. In the next section, we will explore how to accurately measure your space to determine the amount of material needed for your splashback project.
Section 3: Measuring Your Space
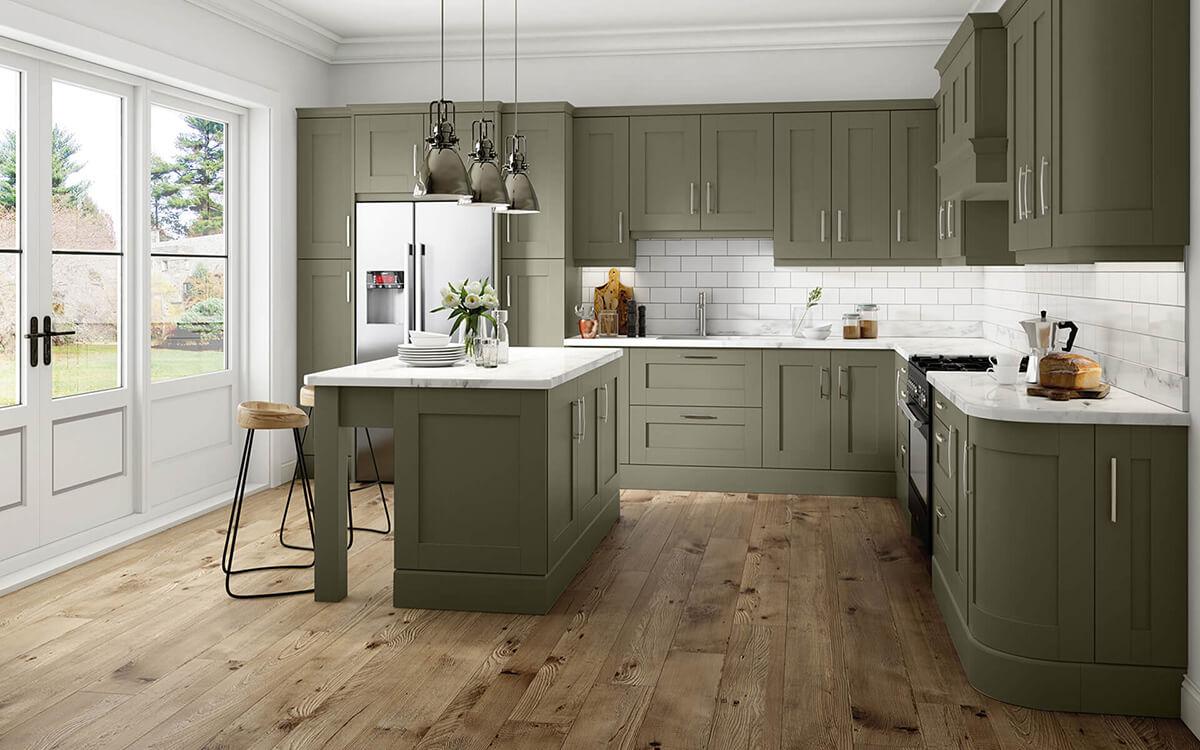
Elsworthy Reed Green Kitchens with White Brick Tiled Splashback
Correct measurements are the cornerstone of any successful splashback project. Getting the dimensions right is crucial for determining the amount of material needed, and hence, the overall cost of the project. Here’s a step-by-step guide on how to measure your space for a splashback:
- Area Measurement: Measure the width and height of the area where the splashback will be installed to calculate the total area of your backsplash. Using a measuring tape, measure from the top of the countertop to the bottom of the upper cabinets.
- Accounting for Outlets and Fixtures: If there are any outlets, switches, or other fixtures on the wall, measure their dimensions and subtract this area from the total.
- Width and Height: Measure the width of your backsplash from one end to the other, ensuring you cover all the areas that will have the splashback installed.
- Tile Size and Layout: Determine the size of the tiles you will be using and plan the layout. This will help in understanding how the tiles will fit into your space and if any tiles will need to be cut for a perfect fit.
- Extra Tiles: It's advisable to order some extra tiles to account for any breakages or miscalculations. A good rule of thumb is to order 10% more tiles than your measurements call for.
- Tile Spacers and Grout Lines: If you are using tile, consider the size of the grout lines. Tile spacers can help maintain consistent spacing and affect the total number of tiles needed.
- Backsplash Height: Decide on the height of your splashback. It could either be a standard backsplash height or extend up to the ceiling for a more contemporary look.
- Calculator Use: Utilise a backsplash calculator to help determine the amount of material needed. These calculators can provide an estimate of the number of tiles, adhesive, and grout required.
- Professional Measurement: If measuring and calculating material needs seem daunting, consider hiring a professional to ensure accuracy. Accurate measurements are crucial for budgeting and ordering the right amount of tile.
- Documentation: Document all your measurements, including the size of each tile, the total square footage of your backsplash, and any other pertinent details. This documentation will be invaluable when ordering materials and during installation.
Accurate measurement is a critical step that affects every subsequent phase of your splashback project, from material ordering to installation. Taking the time to measure accurately or hiring a professional to do so will set a solid foundation for a successful project. In the next section, we will delve into calculating the amount of material needed based on your measurements.
Section 4: Calculating the Amount of Material
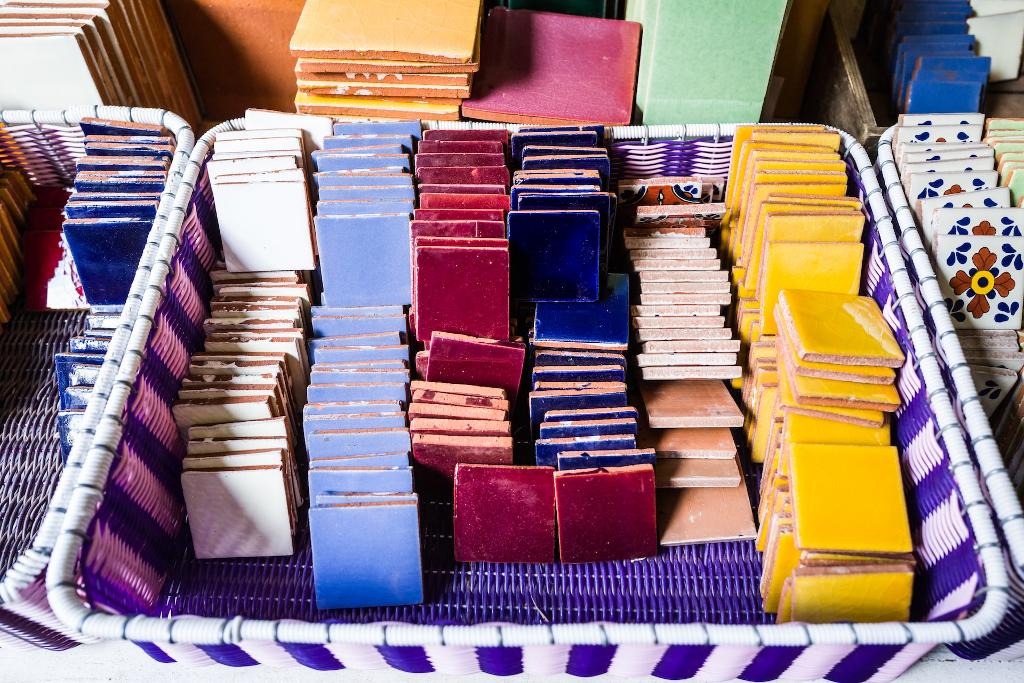
Calculate the correct quantity of tiles or splashback material
Armed with precise measurements, you're now ready to calculate the amount of material required for your splashback project. Accurate calculations will ensure you order the right amount of tile or other materials, helping you to stay within budget and avoid delays during installation. Here's how to go about it:
- Tile Calculation: If you've chosen tiles for your splashback, multiply the width by the height of the area to get the total square footage of your backsplash. Then, divide this number by the square footage of one tile to get the number of tiles needed. Remember to add extra tiles to cover breakage or miscalculations.
- Other Material Calculation: For other materials like quartz, granite, solid surface, laminate, decorative aluminium, or glass, contact suppliers with your measurements to get a quote. They can provide accurate material estimates based on the dimensions provided.
- Adhesive and Grout: The adhesive and grout needed will also be determined by the area to be covered and the type of material you choose. Consult with suppliers or use online calculators to estimate the amount needed.
- Cutting Allowance: Factor in some allowance for cutting, especially if your splashback area has complex shapes or if you are planning a design that requires a lot of cuts.
- Wastage Factor: Always factor in a wastage percentage to account for errors, breakages, or other unforeseen issues. A common rule is to add 10% to your material order.
- Professional Consultation: If you're unsure about your calculations, consult with a professional. They can help ensure you have the right amount of material to complete your project successfully.
- Budget Considerations: Use your material calculations to revise your budget if necessary. Ensure you have accounted for all material costs, including any additional supplies needed for installation.
- Ordering Material: Once you have a clear understanding of the material required, place your order. It's advisable to order all your material at once to avoid any discrepancies in colour or size, especially with natural materials like stone or handmade tile.
- Storage Considerations: Consider where you'll store the material until installation begins. Ensure the storage area is dry and free from temperature extremes to maintain the material's quality.
- Timeline Planning: With a clear idea of the material needed, you can now plan the timeline for your project. Knowing when your material will arrive will help in scheduling the installation.
Calculating the amount of material needed is a meticulous task that requires attention to detail. Whether you choose to do it yourself or consult with a professional, ensuring accuracy in this step will contribute significantly to the smooth progression of your splashback project. In the next section, we will explore the essentials of installation.
Section 5: Installation Essentials
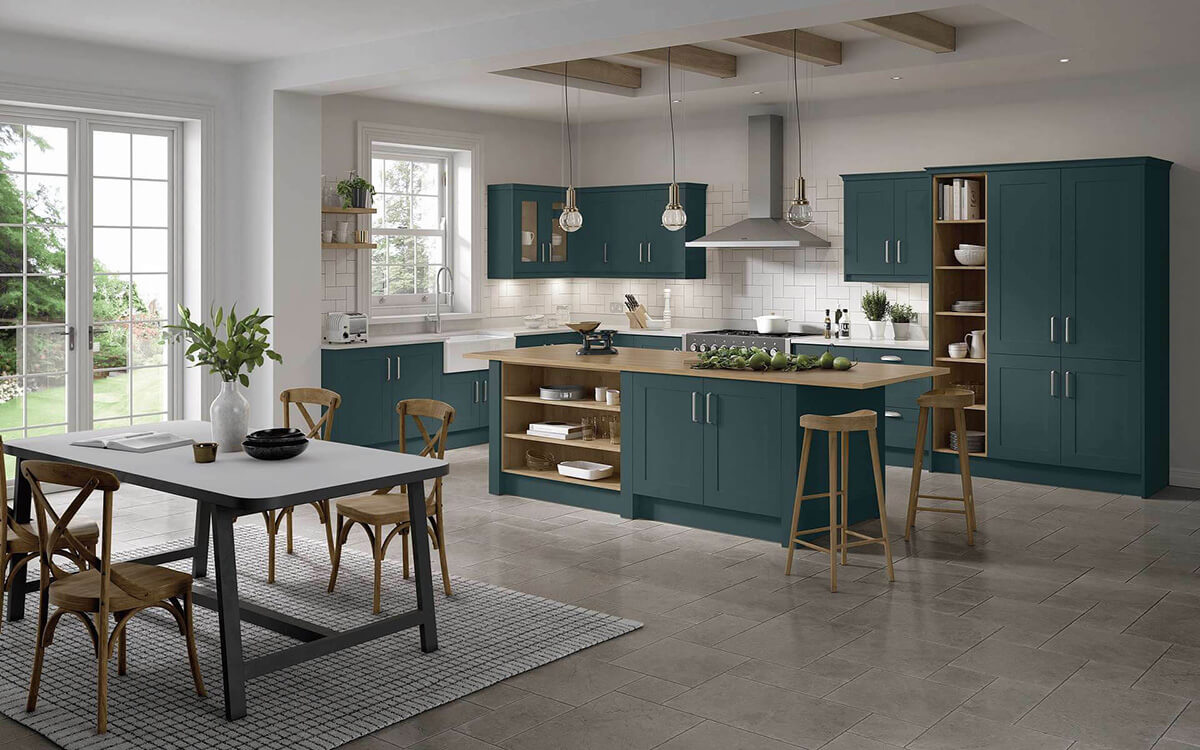
Darlington Heritage Green Super Matte with White tiled Splashback
The actual installation of your splashback is a phase where all your planning and preparation come to fruition. A seamless installation process will ensure that your kitchen is not only aesthetically pleasing but also functionally sound. Here are some essential aspects to consider:
- Professional Installation: While some homeowners may opt for a DIY approach, hiring a professional for tile installation ensures a precise and efficient job. They have the expertise to handle the nuances of installation, including cutting and setting tiles accurately.
- Preparation: Prepare the area by removing any old tiles, cleaning the walls, and ensuring a level surface for the new backsplash. Any discrepancies in the wall surface may affect the final look and functionality of the splashback.
- Adhesive Application: The choice of adhesive is crucial for a sturdy installation. Follow the manufacturer's instructions for the best results, ensuring you mix and apply the adhesive correctly.
- Tile Setting: Begin setting your tiles from the bottom and work your way up, ensuring each tile is level and spaced correctly. Use tile spacers to maintain consistent gaps for the grout.
- Cutting Tiles: Cutting tiles to fit around outlets, switches, or other fixtures is a meticulous task. A professional installer will have the necessary tools to ensure clean cuts and a polished look.
- Grouting: Once the tiles are set and the adhesive has dried, apply grout to fill the spaces between tiles. Select a grout colour that complements your tile choice and clean any excess grout immediately to avoid staining.
- Sealing: If you've chosen a porous material like natural stone or certain types of ceramic, apply a sealant to protect the surface from staining and to make cleaning easier.
- Inspection: After the installation is complete, inspect the work to ensure it meets your expectations. Check for any uneven tiles, poorly filled grout lines, or other issues that need correction.
- Cleaning and Maintenance: Keep the splashback clean during and after installation to ensure it looks great and lasts for a long time. Follow the manufacturer's instructions for cleaning and maintenance.
- Documentation: Document the installation process, noting any challenges encountered and how they were resolved. This documentation can be useful for future renovations or for troubleshooting any issues that arise later.
The installation phase is where your vision for a new kitchen splashback materialises. Ensuring a meticulous installation, whether done professionally or as a DIY project, is key to enjoying a beautiful and durable splashback that enhances your kitchen's appeal and functionality. In the next section, we'll delve into cost and budgeting to ensure your project remains financially feasible.
Section 6: Cost and Budgeting
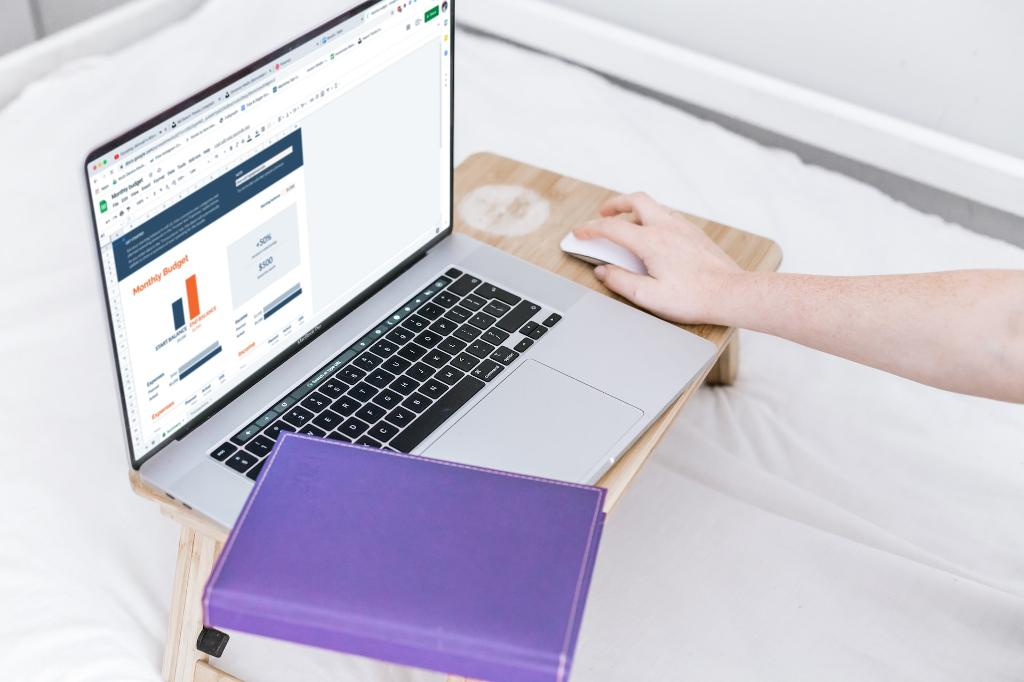
Stay in control by budgeting your project
Embarking on a splashback project entails not only aesthetic and functional considerations but also financial ones. A well-planned budget helps in managing costs and ensuring the smooth progression of your project. Here’s a breakdown of cost and budgeting considerations:
- Material Costs: The cost of materials constitutes a significant portion of your budget. Prices can vary widely based on the type of material you choose. For instance, natural stone and glass tile might be pricier than ceramic tiles.
- Installation Costs: Professional installation will incur additional costs. The complexity of the installation, the area to be covered, and the rates of the installer all contribute to the cost.
- Additional Supplies: Don’t overlook the cost of additional supplies like adhesive, grout, sealants, and tile spacers, which are essential for the installation process.
- Wastage Factor: As discussed earlier, it's wise to order extra materials to account for breakages or miscalculations. Factor in this wastage when budgeting.
- Unforeseen Expenses: Set aside a contingency fund for unforeseen expenses that might arise during the project. There might be unexpected issues that require additional spending.
- Delivery and Storage Costs: Consider the cost of delivering materials to your home and any necessary storage solutions if the installation won’t be carried out immediately.
- Maintenance Costs: Some materials may require regular maintenance, such as sealing natural stone or replacing damaged tiles. Factor in these long-term costs.
- Cost Comparisons: Compare the costs of different materials and installation options to find a solution that fits your budget without compromising on quality.
- Budget Tracking: Keep a close track of all expenses to ensure you stay within budget. Document all purchases and keep all receipts for reference.
- Professional Consultation: If budgeting for your project seems overwhelming, consider consulting with a professional. They can provide a detailed cost breakdown and help you explore cost-saving options.
- Return on Investment (ROI): Consider the return on investment your new backsplash will provide. A beautiful and durable splashback can increase the value of your home and enhance its appeal to potential buyers.
Budgeting effectively for your splashback project ensures you are financially prepared for the venture ahead. A well-thought-out budget, coupled with diligent tracking of expenses, will contribute to a successful project completion, culminating in a kitchen space that is both beautiful and financially viable. In the next section, we’ll explore the maintenance and care of your splashback to ensure it remains in pristine condition over time.
Section 7: Maintenance and Long-term Care
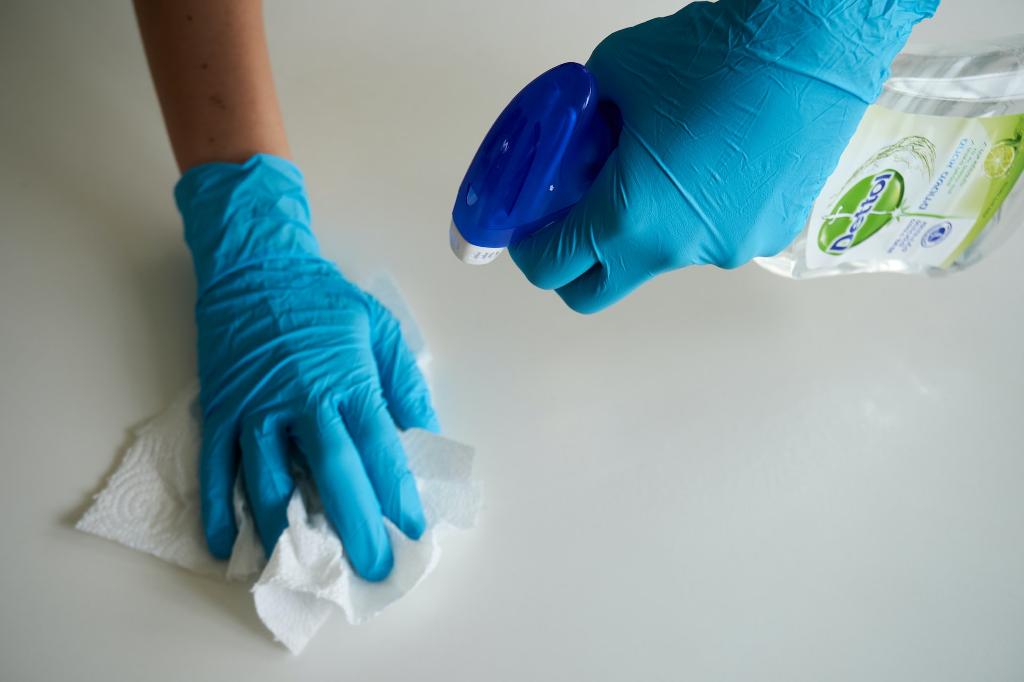
Cleaning your splashback regularly will prolong its life
The longevity and enduring beauty of your splashback largely hinge on the maintenance and care practices you adopt. Proper maintenance not only keeps your splashback looking new but also ensures it continues to protect your kitchen walls effectively. Here are some maintenance and long-term care tips:
- Cleaning Routine: Establish a regular cleaning routine to keep your splashback free from grease, grime, and other kitchen splatters. Use a mild detergent and a soft cloth for cleaning. Avoid abrasive cleaners that could scratch or damage the surface.
- Sealing: If you have chosen a porous material like natural stone or unglazed ceramic tiles, it's crucial to apply a sealant periodically to prevent stains and moisture absorption.
- Grout Maintenance: Keep the grout lines clean and free from mildew and stains. Consider re-grouting if necessary to maintain a fresh and clean appearance.
- Repair and Replacement: Address any damages promptly. Whether it's a chipped tile or a stained grout line, early repairs can prevent further damage and maintain the aesthetic appeal of your splashback.
- Professional Cleaning: For stubborn stains or for a thorough cleaning, consider hiring a professional cleaning service. They have the right tools and cleaning agents to restore the shine of your splashback.
- Avoiding Damage: Be mindful of activities that could damage your splashback, such as banging pots and pans against it or using it as a support when reaching for upper cabinets.
- Material-Specific Care: Follow the manufacturer’s instructions for material-specific care. Different materials like glass, quartz, granite, or decorative aluminium may have unique care requirements.
- Regular Inspections: Periodically inspect your splashback for any signs of damage, loose tiles, or deteriorating grout. Early detection and repair are key to maintaining its longevity and functionality.
- Upkeep Investments: Allocate a portion of your budget for the upkeep of your splashback. This could include professional cleaning services, sealant re-application, or minor repairs.
- Educating Family Members: Educate family members on the proper care and maintenance of the splashback to ensure everyone contributes to keeping it in pristine condition.
- Long-term Value: A well-maintained splashback not only enhances the beauty of your kitchen but also adds value to your home. Its long-term care is a worthwhile investment that pays dividends in the form of a functional and aesthetically pleasing kitchen space.
A proactive approach to maintenance and care will ensure your splashback remains a focal point of your kitchen for many years to come. In the concluding section, we’ll recap the key points discussed in this guide and reflect on the rewarding journey of installing a new splashback in your kitchen.
Final Thoughts
Embarking on a splashback project is an exhilarating venture that offers a chance to rejuvenate the heart of your home—the kitchen. From the initial steps of exploring a plethora of material options, delving into design considerations, meticulous measuring, astute budgeting, to the final installation and long-term maintenance, each phase is instrumental in ensuring the success of your project.
The journey, albeit demanding, paves the way for a kitchen space that is not only aesthetically appealing but also functionally robust. Your choice of splashback material and design becomes a testament to your personal style, enhancing the overall ambiance of your kitchen. Moreover, a well-executed splashback project is a prudent investment that augments the value of your home.
The comprehensive insights provided in this guide aim to equip you with the necessary knowledge and confidence to navigate through the intricate phases of a splashback project. Whether you opt for the timeless elegance of natural stone tiles, the modern sophistication of glass tile, or the rustic charm of handmade tile, the end goal remains the same—a splendid splashback that stands as a blend of artistry and practicality.
As you revel in the rewarding process and eventually the finished project, the new splashback not only becomes a protective shield for your kitchen walls but also a reflection of your taste, making your kitchen a delightful space for creating cherished memories with loved ones.
May this guide serve as a valuable companion in your venture, leading you towards a successful kitchen splashback project that fills your kitchen space with charm, functionality, and enduring appeal.
Contact Better Kitchens to discuss your next kitchen project!
