Draining Grooves in Solid Worktops Explained
An Elegant Addition to Your Kitchen
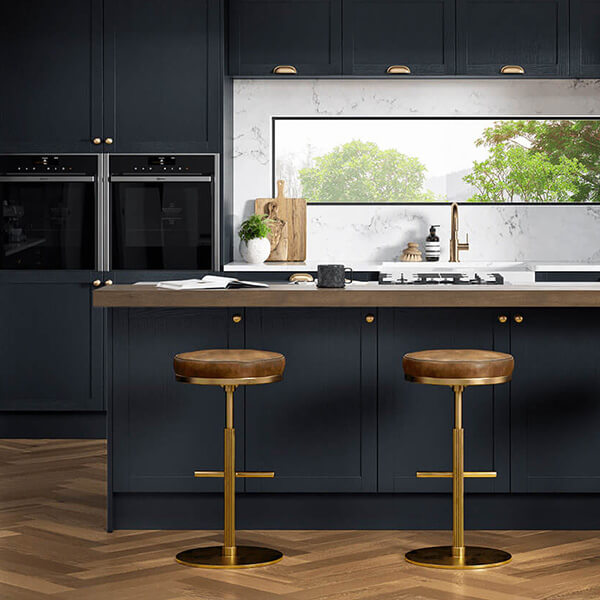
Investing in a kitchen is about finding the perfect balance between functionality and aesthetic appeal. One feature that effortlessly marries these two aspects is the draining groove, a subtle yet impactful detail on your worktop. These small but significant channels can elevate your kitchen experience to a whole new level.
What Are Draining Grooves?
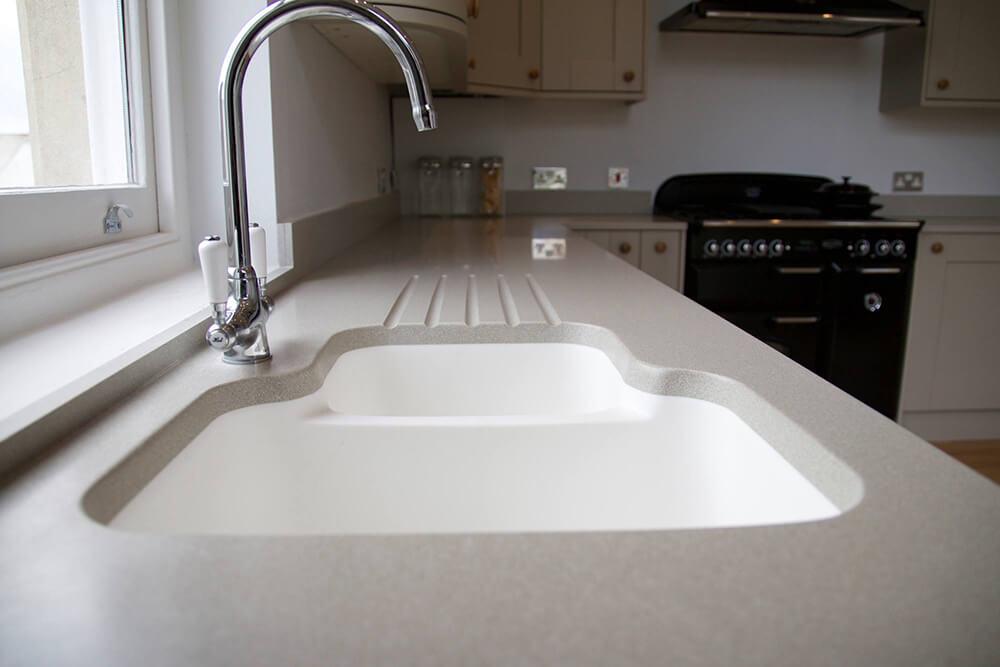
Draining grooves are routed indentations situated next to the sink on the top surface of solid worktops. Their primary function is to channel water back into the sink, preventing pooling and creating a practical space for drying dishes or utensils.
Craftsmanship and Material Quality
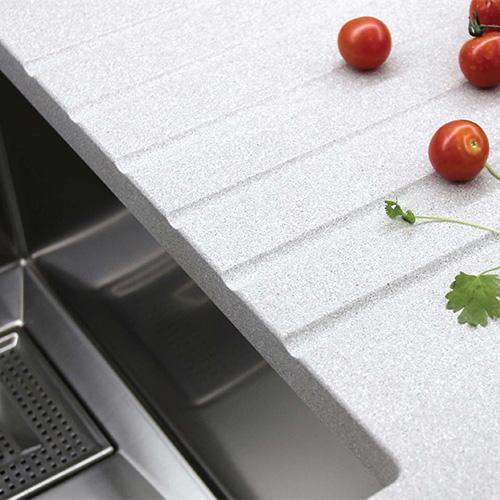
While draining grooves demonstrate craftsmanship, they are also an indicator of the worktop material's quality. Their precision cut is something you won't find in laminate or other non-solid worktops.
What Are The Solid Worktop Options for Drainer Grooves
Solid Wood
Solid wood offers a classic look and feel, and the grooves can highlight its natural grain beautifully.
Solid Surface
Solid Surface Worktops are a non-porous material provides a seamless look, making it an excellent choice for draining grooves.
Quartz
Quartz offers a touch of luxury along with durability, making it a fantastic option for adding stylish yet functional grooves.
Granite
Known for its robustness, granite can add a timeless elegance to your kitchen, further enhanced by well-crafted draining grooves.
Solid Laminate
Despite being only 12mm thick, Solid Laminate is a durable and practical option suitable for draining grooves, offering a modern aesthetic with low-maintenance benefits.
Understanding the Draining Grooves Installation Process
While we don't offer installation services, it’s beneficial to have an idea of the process and tools one might use if opting for a DIY installation of draining grooves.
Typical Tools That An Installer Will Use
- Quality cutters
- Masking tape
- Pencil for marking
- Hand router with a 30mm guide collet and radius cutter
- Sandpaper (240 grit)
- Scotch-Brite sanding pads
The General Process
- Preparation and Planning: Typically, the placement of the grooves is carefully planned, with masking tape often used to mark the area where they will be located.
- Guidance and Precision: A jig might be employed to guide the hand router, ensuring that the grooves are cut in straight, even lines.
- Cutting the Grooves: A hand router fitted with a 30mm guide collet and radius cutter is commonly used, with grooves usually not exceeding a depth of 3mm.
- Finishing Touches: After the grooves are made, sanding usually follows to smooth out any rough edges, commonly using 240 grit sandpaper and finishing with an ultra-fine Scotch-Brite pad for a refined appearance.
Frequently Asked Questions: Everything You Need to Know About Draining Grooves in Solid Worktops
Navigating the world of kitchen worktops and their features can be a bit daunting. Our FAQ section aims to answer all your burning questions about draining grooves in solid worktops.
From material suitability to maintenance and customisation, get expert insights to make informed decisions for your kitchen upgrade.
Conclusion
Draining grooves offer both style and functionality, proving to be more than just a utilitarian feature in solid worktops like Solid Surface, Quartz, Granite, and Real Wood.
With the right tools and understanding of the process, incorporating draining grooves can be a straightforward yet impactful upgrade, enriching both the utility and aesthetics of your kitchen.
Ready to Elevate Your Kitchen Experience?
If you're inspired to add that perfect blend of functionality and style to your kitchen, explore our range of premium, affordable solid worktops today. Don't miss out on the opportunity to enrich your kitchen with our high-quality options designed for excellence. Browse our collection now!