How to Fit a Kitchen Base Unit
Embark on a journey to enhance your kitchen by fitting a base unit seamlessly.
Installing a kitchen base unit is a fundamental step in setting up your premium DIY kitchen. A base unit can vary in size, ranging between 150mm to 1200mm, and can feature doors or drawers.
Base units are pivotal as they form the foundation of your kitchen layout, supporting countertops and providing essential storage space.
Getting Started
With your base units delivered and packaged, the first step involves unpacking.
Remove the doors by releasing the clip hinges and ensure you have an empty cabinet to work with, keeping shelves or drawer boxes nearby for later use.
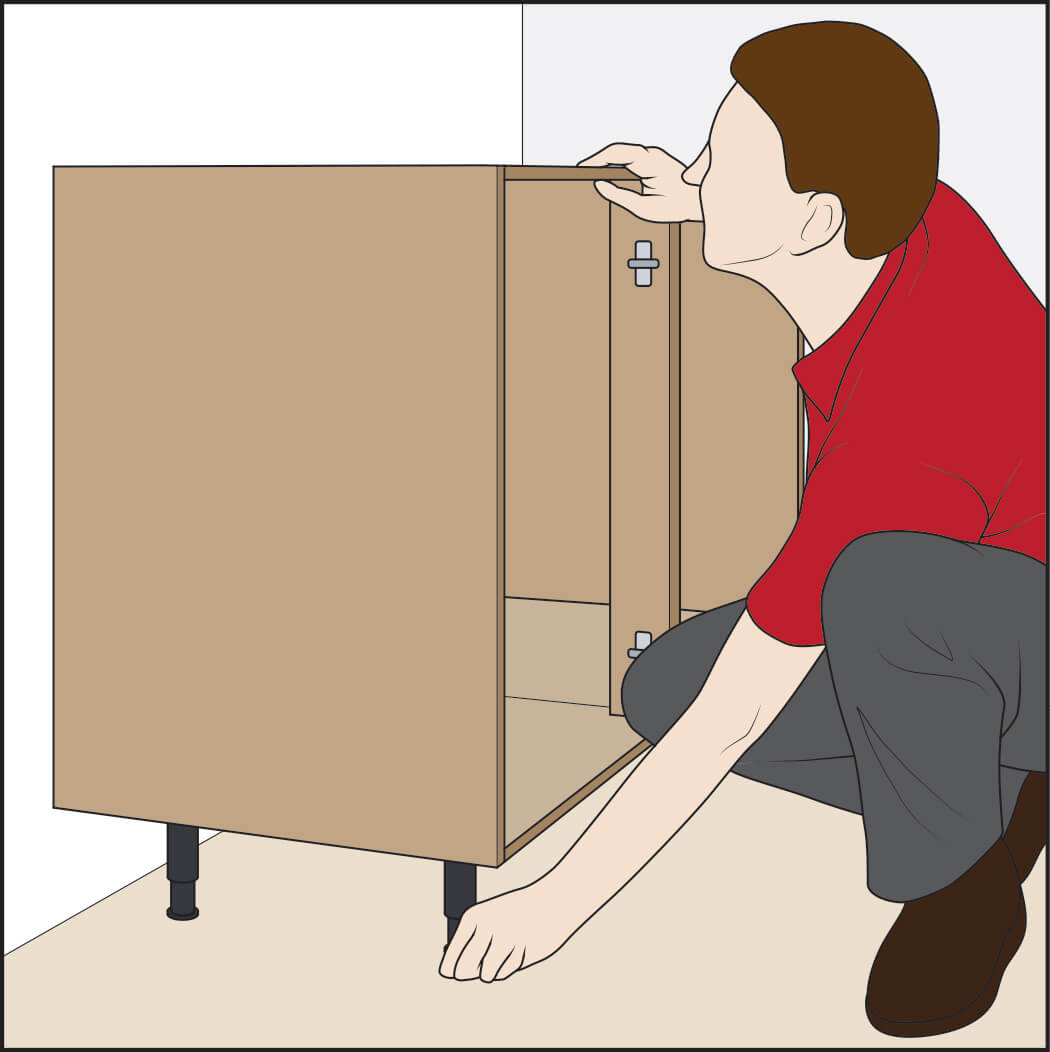
Marking and Positioning
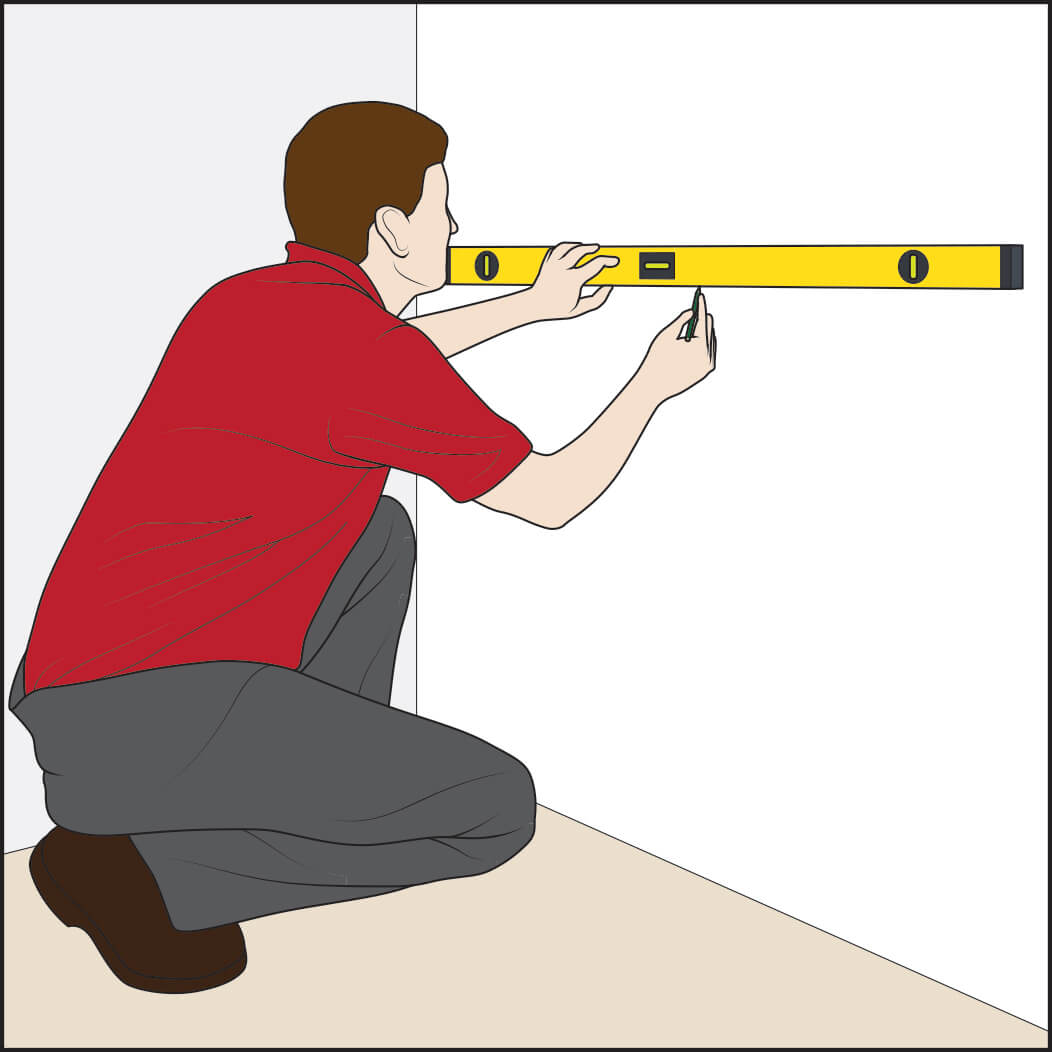
Mark the positioning of each cabinet as per your kitchen layout. Place the unit neatly into the marked space, ensuring accuracy for a flawless installation.
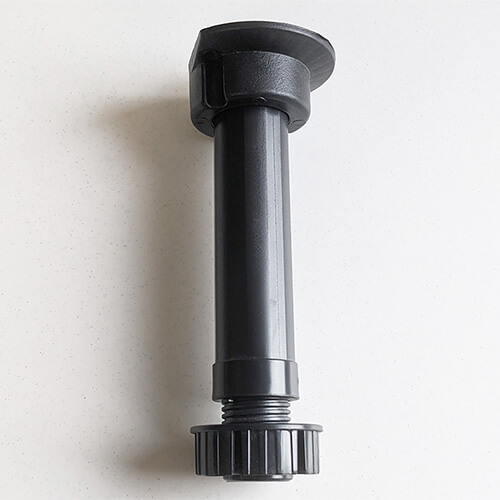
Fitting Adjustable Legs
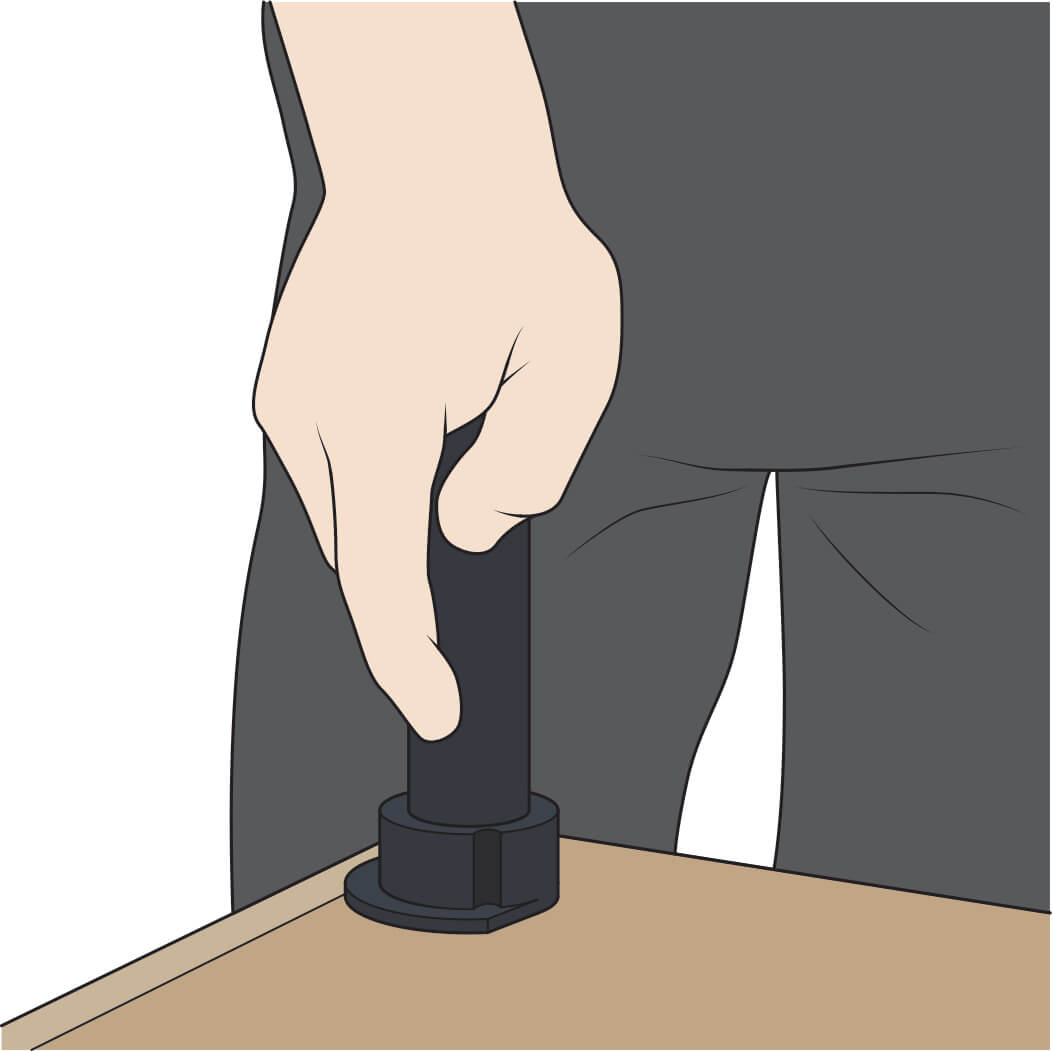
Depending on the width of the cabinet, the leg bases should already be screwed to the kitchen cabinet if not, the adjustable legs can be screwing to the underside of the cabinet with pre-drilled holes to facilitate this process. Then push the leg section into the leg base.
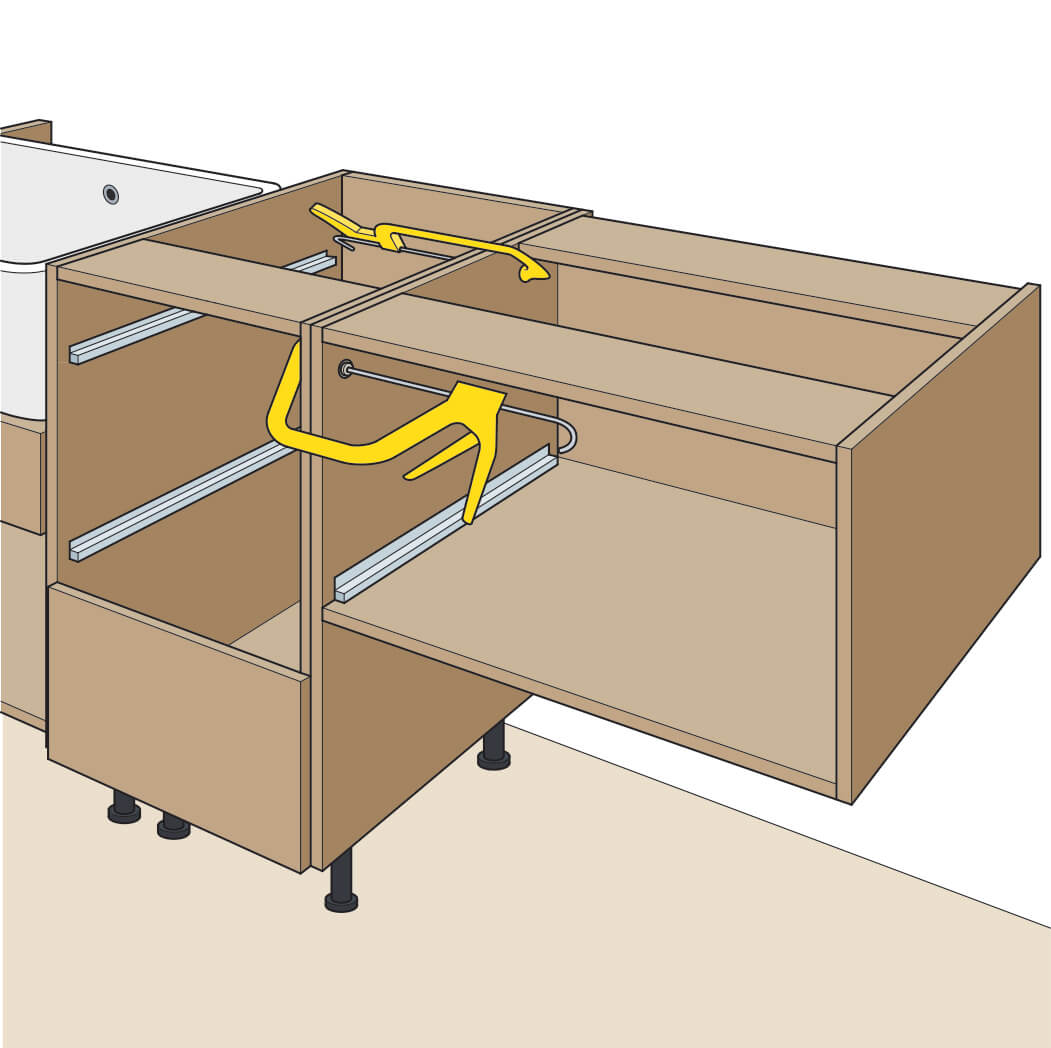
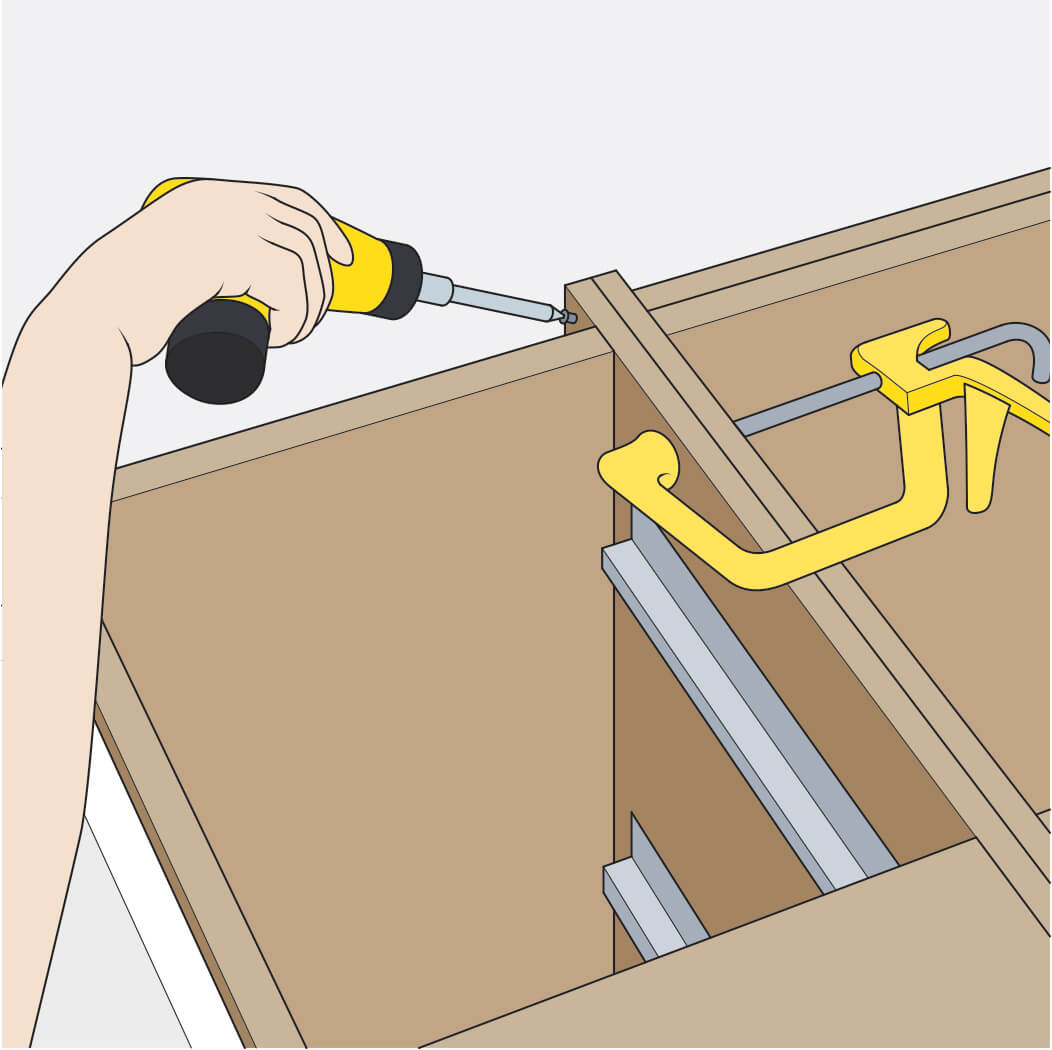
Ensuring Level and Alignment
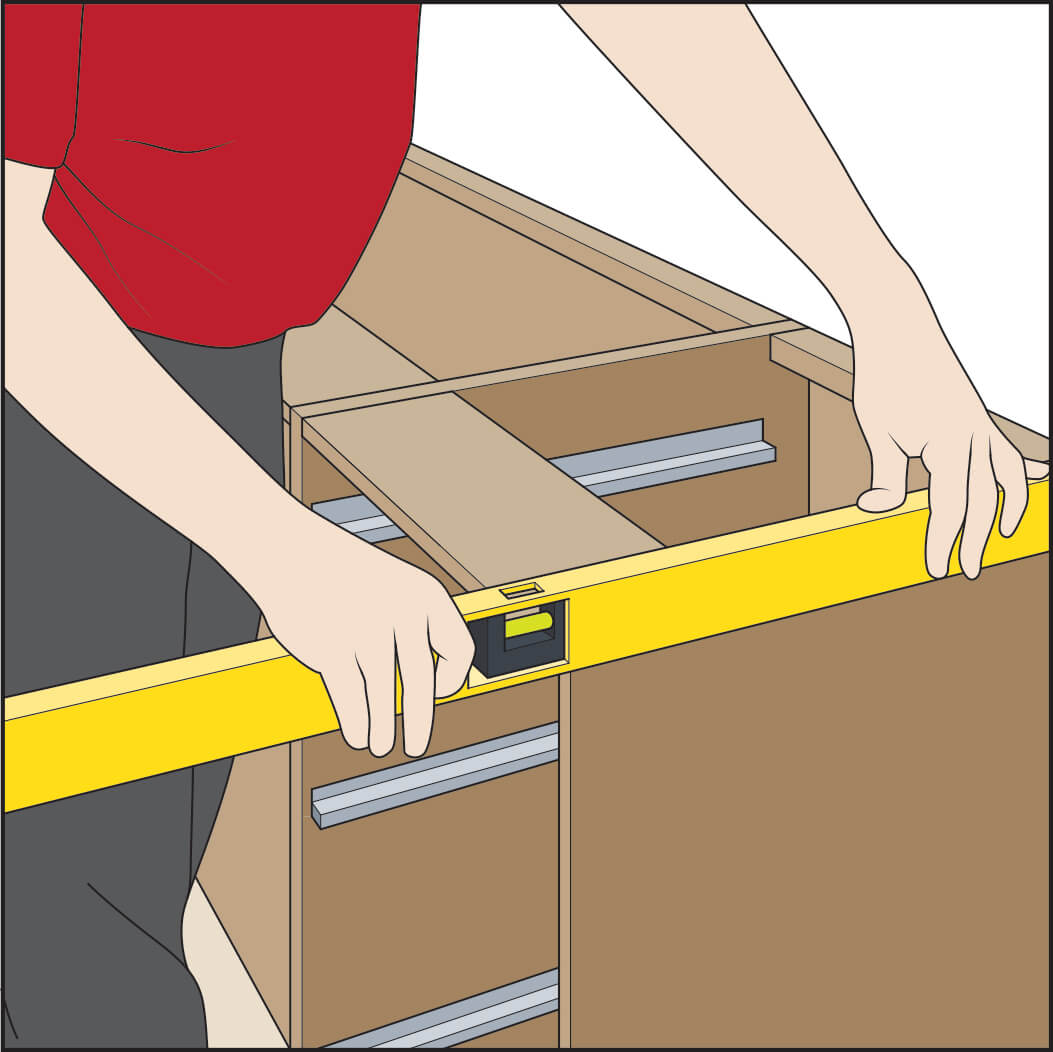
Use a spirit level to check the unit's level, adjusting the legs as necessary. Clamp adjacent cabinets together and attach them using the provided screws, ensuring a secure and aligned setup.
Securing to the Wall
Attach L-shape brackets to the side panels and secure them to the wall. Continue the process for all cabinets, ensuring they are level and firmly in place.
Fitting a Base Unit: Top Tips
- Always follow the manufacturer’s instructions provided in the pack.
- Beware of uneven flooring and adjust the legs accordingly.
- Seek assistance when lifting heavy cabinets and wear safety gear when drilling.
Your Questions Answered
Explore our FAQ section for answers to common questions about fitting a base unit. Find practical tips and straightforward advice to help you navigate the installation process with ease and confidence.
What is the importance of fitting the first base unit correctly?
Ensuring the correct installation of the first base unit is crucial as it sets the alignment for the subsequent units, leading to a smooth and accurate overall installation.
How can I ensure that the cabinets are level?
Use a spirit level to check the level of the cabinets and adjust the legs or the wall brackets as necessary to achieve a perfectly level alignment.
What precautions should be taken when drilling into the wall?
Mark the drill holes clearly, use the appropriate drill bit, wear safety goggles, and avoid over-tightening the screws to prevent damage to the cabinets.
How many adjustable legs are needed for different cabinet widths?
Typically, cabinets up to 600mm in width require four legs, those that are 800mm, 900mm, and 1000mm in width require six, and L-shaped cabinets of 900mm in width may require eight legs.
Are the holes for the adjustable legs pre-drilled?
Yes, the holes for the adjustable legs are pre-drilled to facilitate easy and efficient installation.
How are L-shape brackets used in the installation?
L-shape brackets are attached to the side panels of the cabinets and are then secured to the wall to ensure stability.
What safety measures should be taken during installation?
Wear safety goggles, ask for assistance when lifting heavy cabinets, and take care when using power tools to ensure safety.
Can the side panel be trimmed to fit around the skirting board?
Yes, the side panel can be trimmed using a circular saw or jigsaw to fit around the skirting board.
Conclusion: Island or Peninsula - A Choice Tailored to Your Needs
Fitting a base unit might seem daunting, but with careful attention to detail and adherence to guidelines, you can achieve a seamless installation.
Remember, the journey to a splendid kitchen begins with the right decisions and meticulous planning.
For premium quality DIY kitchens that don’t break the bank, explore our range at Better Kitchens.